So here is my bumGenius diaper repair tutorial.
Yes, it’s a day late. But hey, it’s not easy doing a sewing project when your toddler wants to play with the robot (aka sewing machine) and you’re holding a newborn that wants to eat every 10 minutes!
So we’ve been using cloth diapers for a little over two years now and love them. They’re super easy to use, save you a bundle of money, help out the environment, and benefit your baby. You win all around.
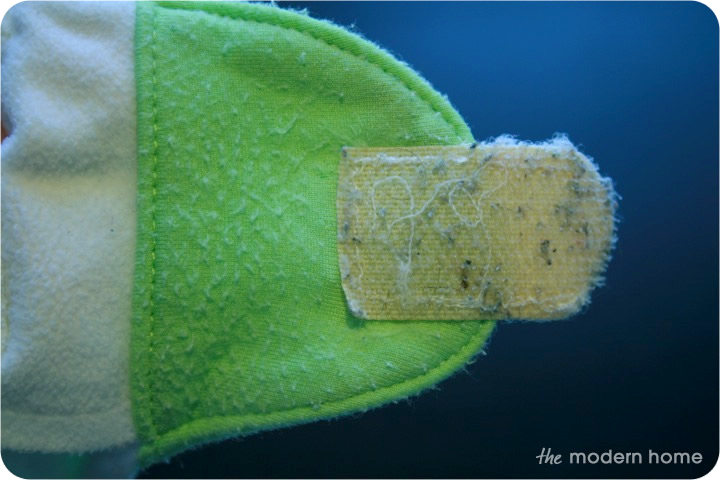
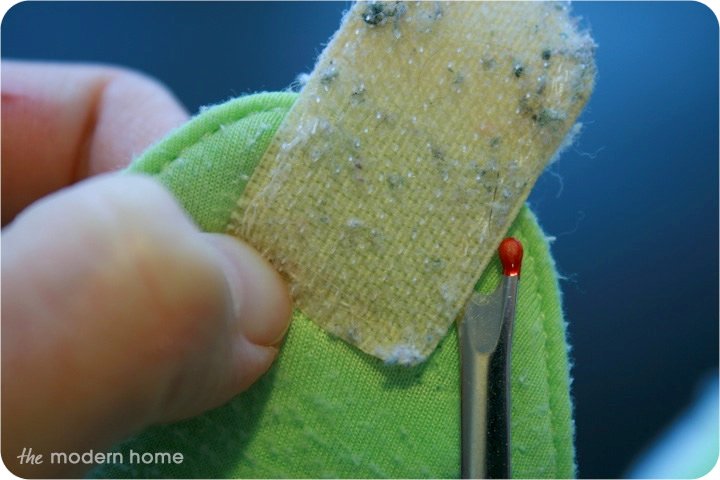
We did have a few issues though. The velcro tabs refused to stick to the laundry tabs in the wash so the velcro wore out quickly. (And collected a ton of junk in the wash – lint, string, hair, etc. There was always a bunch of my hair in it. Don’t ask me how. You would think I was brushing my hair with them every morning.)
It also snagged on the other diapers causing them to pill and look way old and worn.
The velcro tabs had no problem sticking to the other tabs in the wash though. Hello diaper chains! You pull one out of the wash you pull them all out!
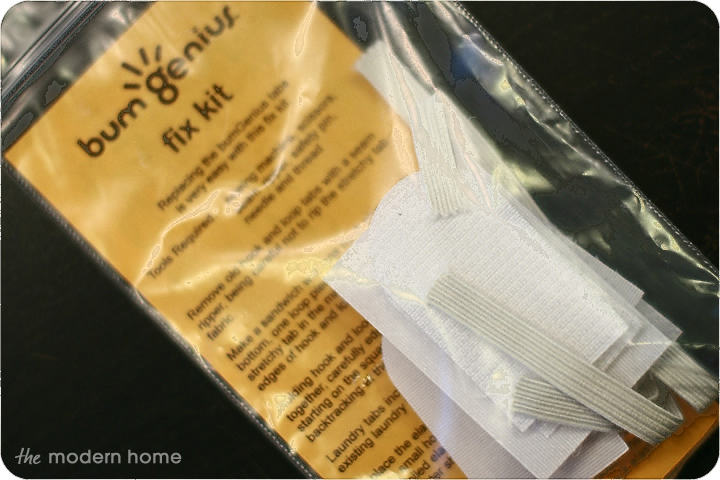
Luckily Cotton Babies offers fantastic customer support. They sent out fix kits for all of our diapers free of charge. Yay!
So let’s get started!
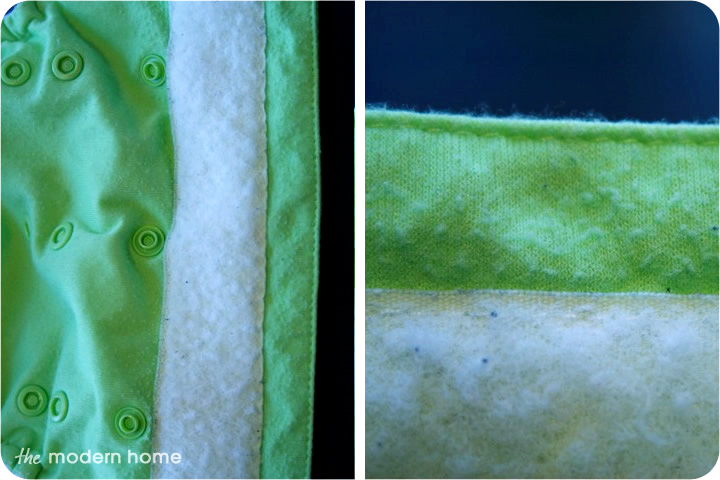
Begin by using your seam ripper to detach the velcro from the diaper. Be careful with this step. I took chunks out of stretchy material on my first few attempts. Thankfully the new tabs hide it.
Also, be careful not to stab yourself.
I did.
It hurt.
Bad.
I almost lost a finger.
Okay not really.
But it did hurt.
Bad. Did I mention that?
Okay, back to seam ripping.
Voilà! Velcro is off!
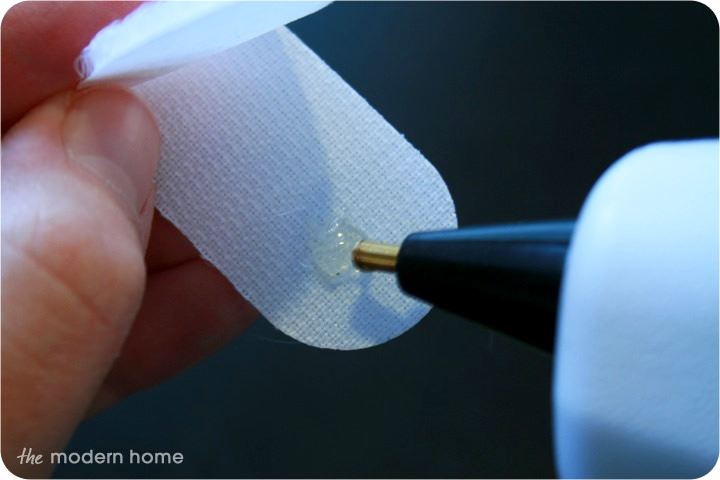
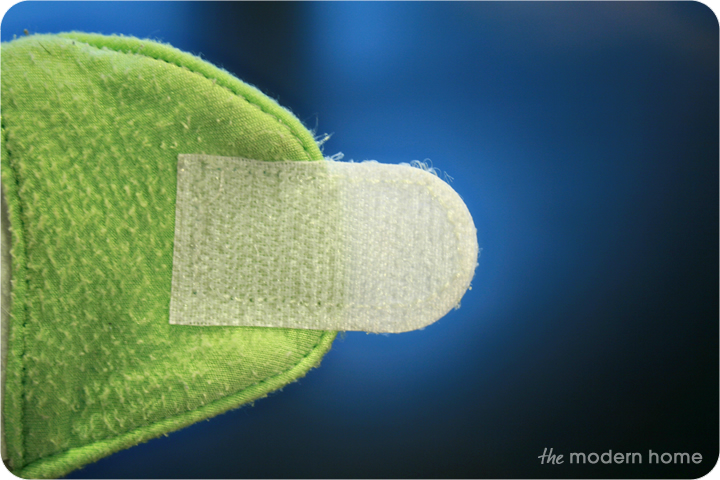
When you sew the new tabs on you have to keep two pieces of velcro and the tab lined up perfectly while sewing in a tiny little area. Über frustrating. Here’s a tip to make it way easier: apply a small bit of glue to the rounded side to secure them together. Hot glue worked better than super glue. Fabric glue might work as well.
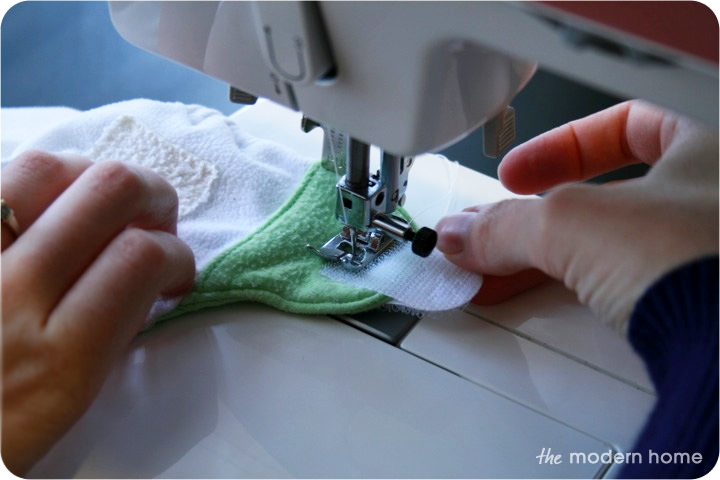
Now we’re ready to sew. Start on the inside and work your way around. Double back at the end to secure it.
Now lets talk laundry tabs. That’s what started this whole mess to begin with.
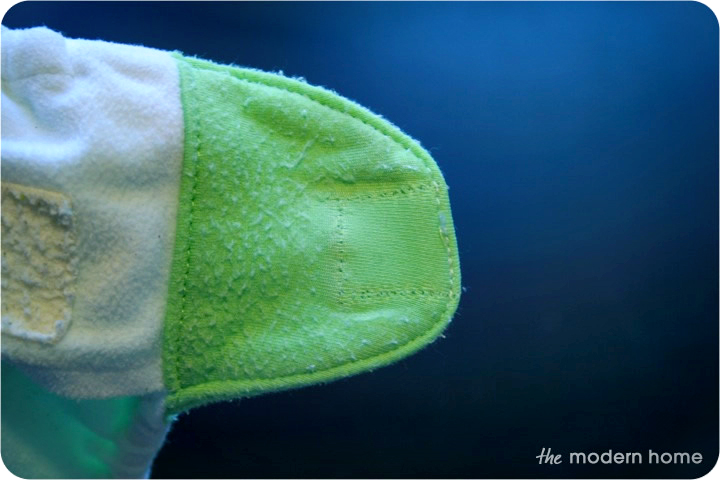
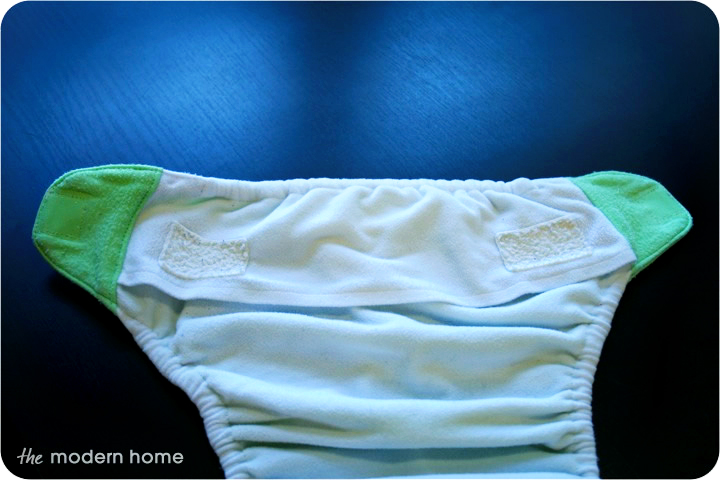
We bought our diapers a little over two years ago, so this part may have been redesigned since then. This is how they looked before:
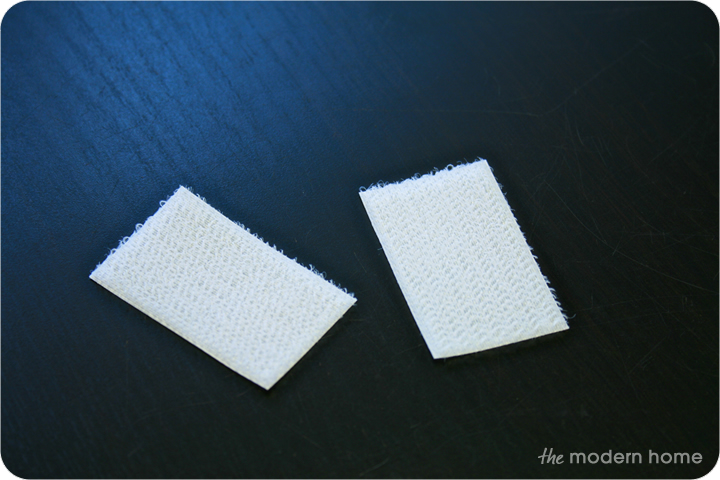
The tabs were made out of a felt-ish type material so the velcro could secure (not very well as we’ve seen) to the tabs, but the fabric would be nice and soft against the baby. New laundry tabs were included in the fix kits that Cotton Babies sent out, but instead of this same material they’re now the loop side of the velcro.
It’s definitely softer than the hook side, but I think it would still be too scratchy and irritating. I mean, would you want velcro in your unders? Yeah, I didn’t think so.
So here’s what we’re doing instead. After each diaper change, we’ve been applying these laundry tabs directly to the hook side of the velcro fasteners. Works like a charm. No more pilling, no more diaper chains, no lint or hair stuck in the velcro – it’s fabulous!
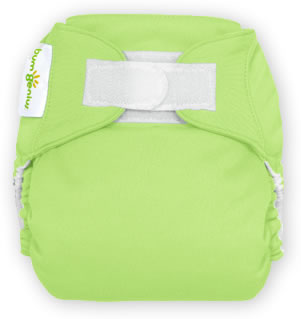
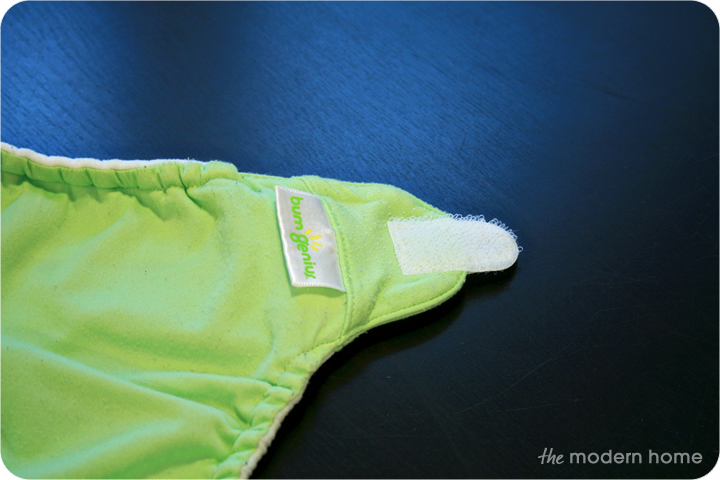
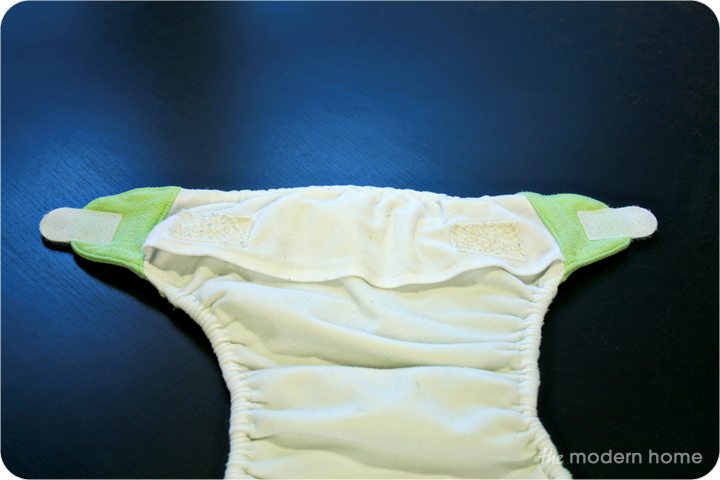
Here’s the finished diaper with the new velcro tabs:
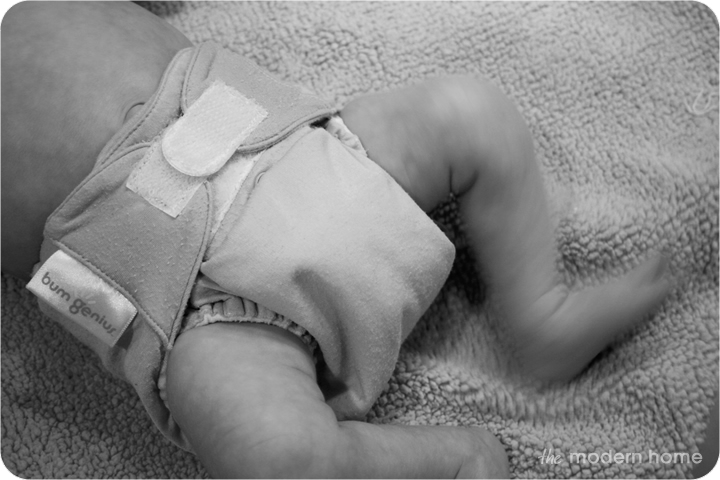
And here’s Memphis modeling his newly improved diapers! (I don’t think I managed to get a single shot without a motion blur. Maybe he was trying to run away from me 🙂 )
You are amazing just to figure all this out took a genius and how you managed it with a lap full is beyond me but good job! Baby looks happy in them as can be seen in the kicking!
Thanks for this! I just bought some used bumGenius that need new tabs and elastic. Gluing the tabs together is genius, I was wondering how the heck I’d hold them together and sew them on straight.
Glad I could help! I kept smashing my fingers with the sewing machine before I finally found a solution. Now that I’ve gone through this work the pul has worn out and needs to be re-waterproofed.