As I mentioned in my last post, we made a cross-country move last fall which, as you probably deduced, means we finished the Hilton Head remodel! I fully intended to share before and afters, but I can’t find any after photos of the project to share. Figures. I know it’s been two and half years since I blogged, but one of my last posts was before pictures. Everything turned out rather anticlimactic, didn’t it? haha My guess is they’re on Brad’s desktop computer. The apple monitor met it’s untimely demise during the move (as did a lot of things – we hired super crappy movers). We can still access them, but it’s quite the effort and I haven’t had the time. Hopefully soon-ish.
Anyway, the house turned out beautifully and we had a few projects in the remodel that really put the finishing touches on it. My favorite was the new pantry door. The old door was a wide, single bi-fold that was old, squeaky and falling apart. It didn’t close properly and squeaked so loud that you didn’t dare open or shut it after putting the kids to bed.
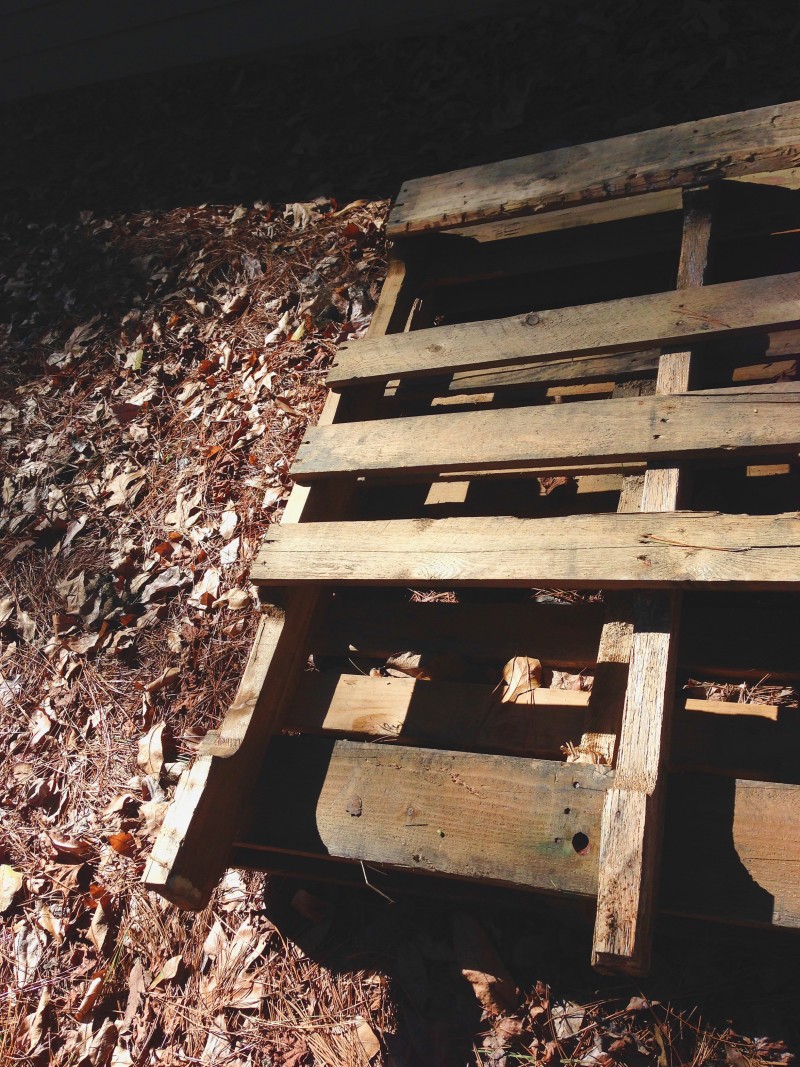
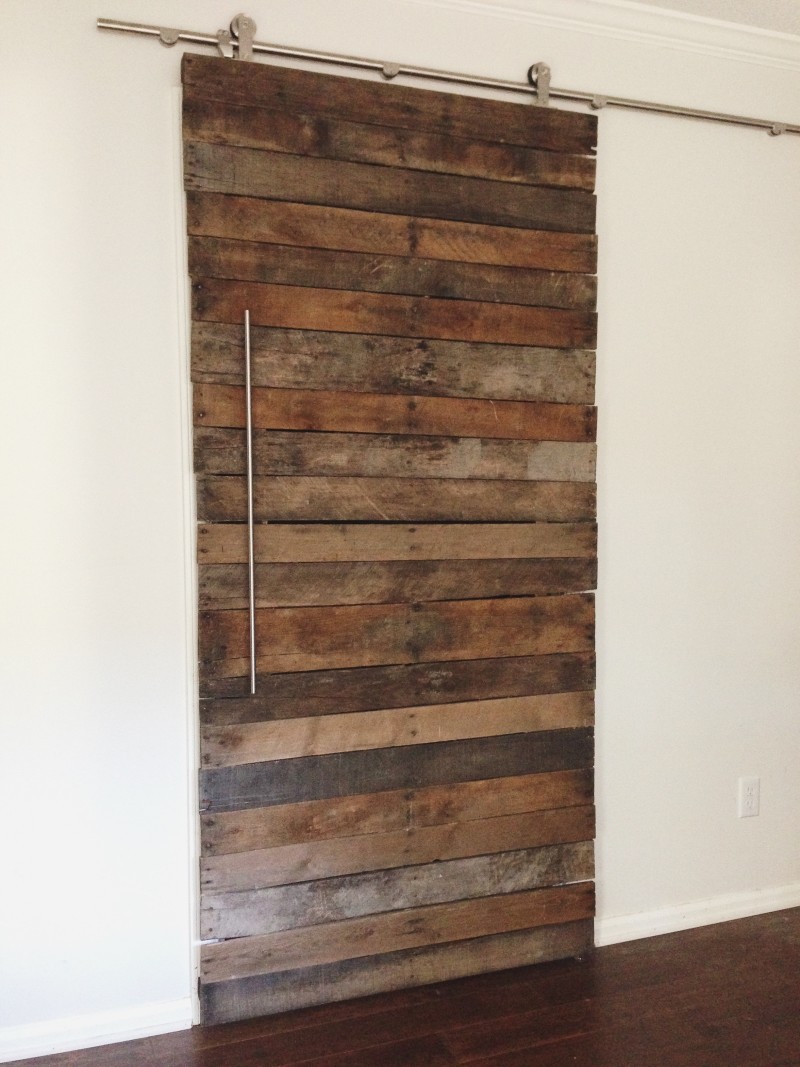
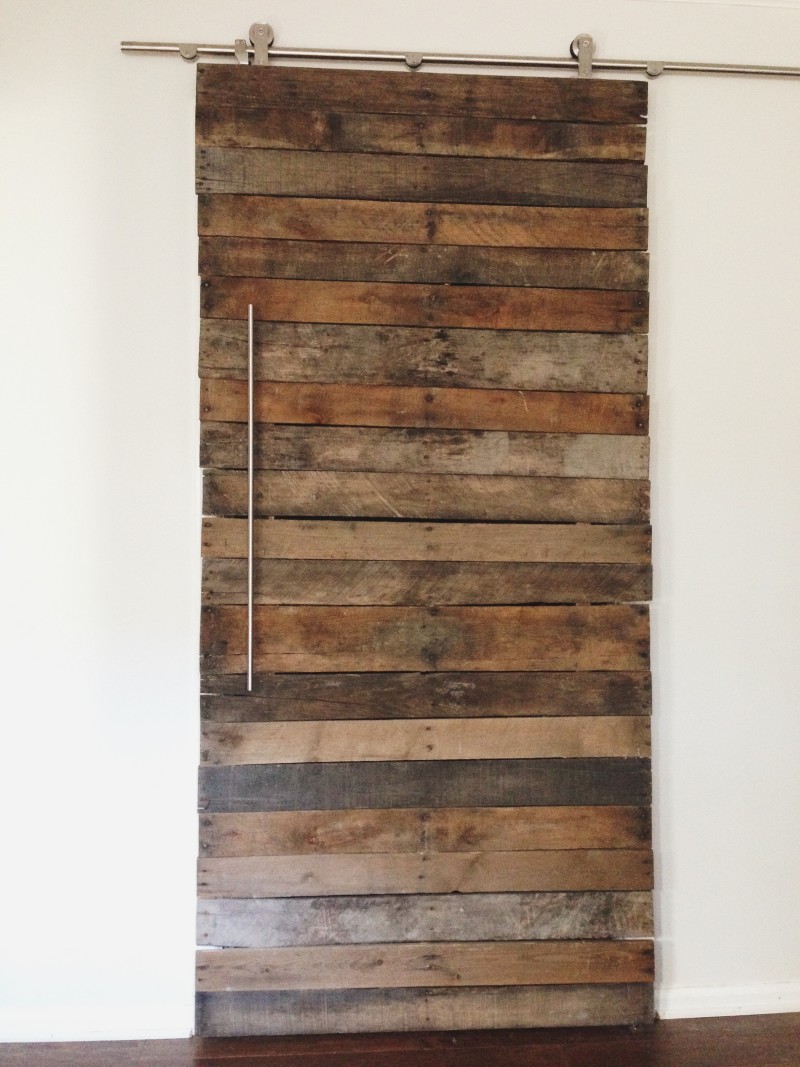
We have a couple of businesses that we get a lot of pallet deliveries for and we were starting to accumulate quite the stash, so I had the idea of making a sliding pantry door out of it. It was one of those ideas where you aren’t sure if it’s going to turn out great or be a total flop. But we had already trashed the old door, so we didn’t have much to lose. As you can see from the finished photo it. was. awesome! It looked so great! By the way, I’m sorry the photos look kinda crappy. They were taken a couple of years ago on an old iphone. It’s crazy how far camera phones have come in such a short time!
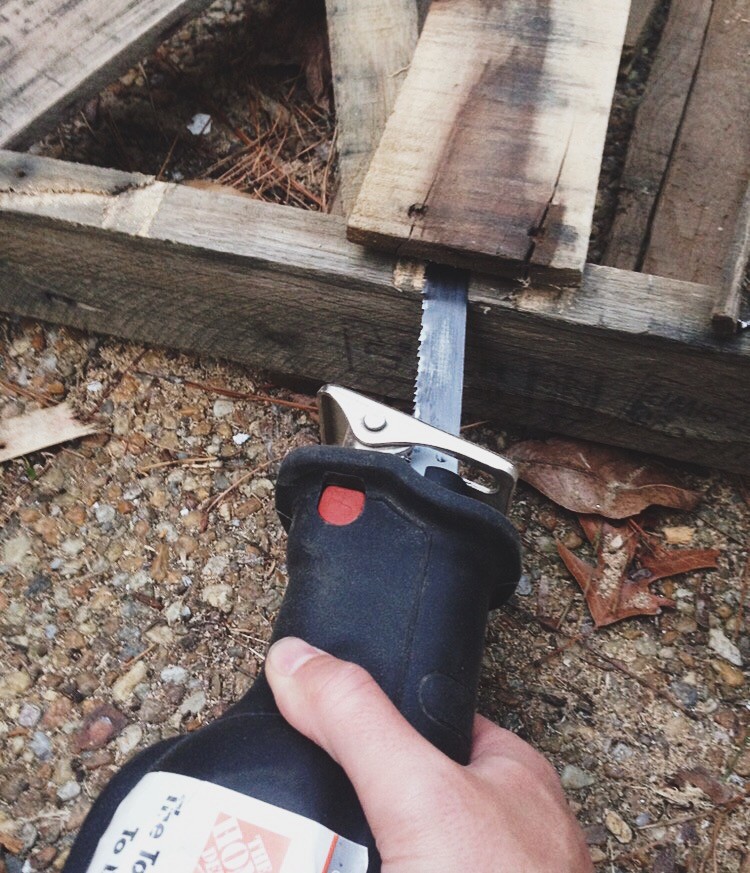
We started out by washing off the pallets. We didn’t want dirty, gross wood hanging on the wall. After they dried out really well, we cut the top pieces of wood off using a sawzall we rented from Home Depot. We had to buy a new blade for it (required if you rent from Home Depot), but it cut like butter. If you’re planning to try a project like this or are looking to do any pallet projects that require taking apart pallets, don’t waste your time trying to pry them apart. Cut them with a sawzall! Speaking from experience, it will save time, energy, and sanity. Be sure to use a blade that cuts both metal (for the nails) and wood.
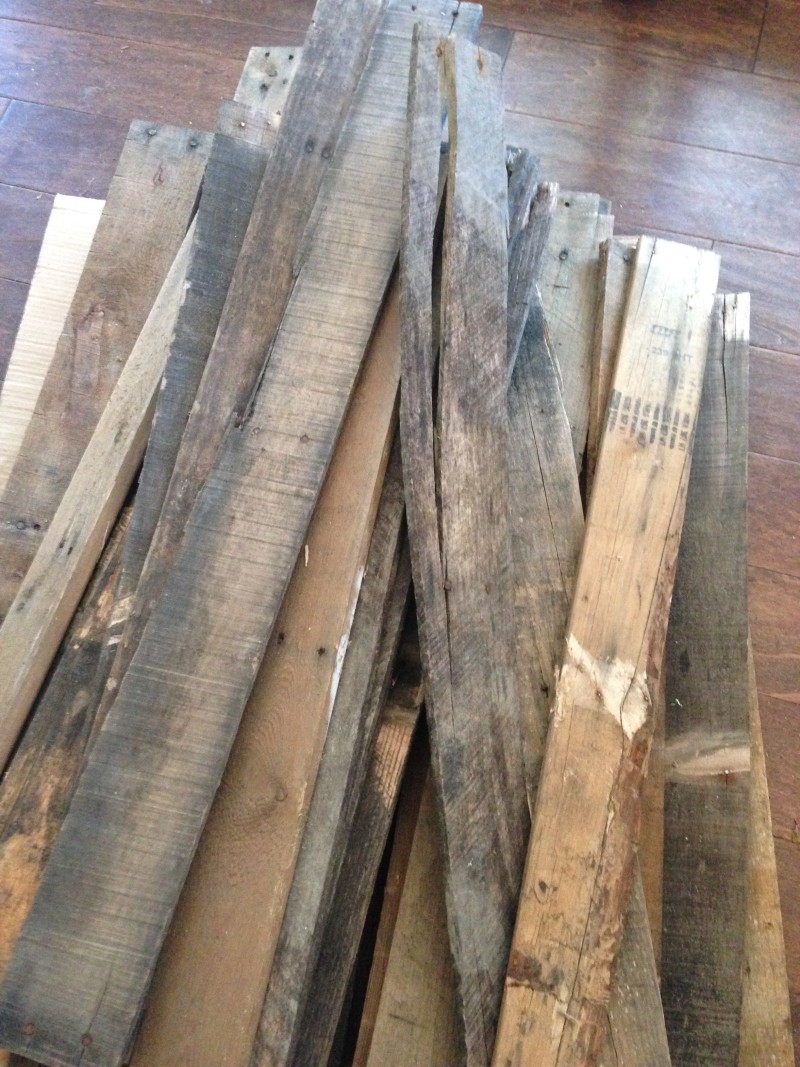
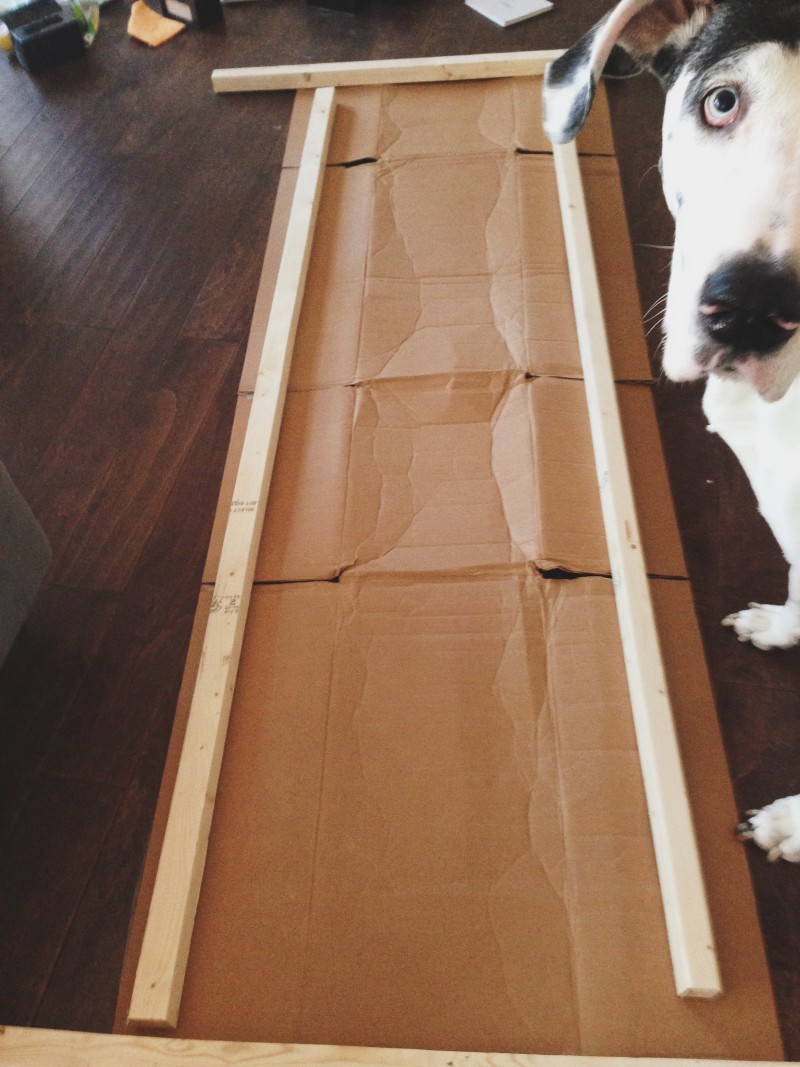
After we had our pile of wood, we began to assemble to frame. We built the outer frame and brace using 2x2s. Apparently I didn’t take any photos of the completed frame, but it had a single brace across the center for support. Since it was a sliding door, we needed to keep it as lightweight as possible.
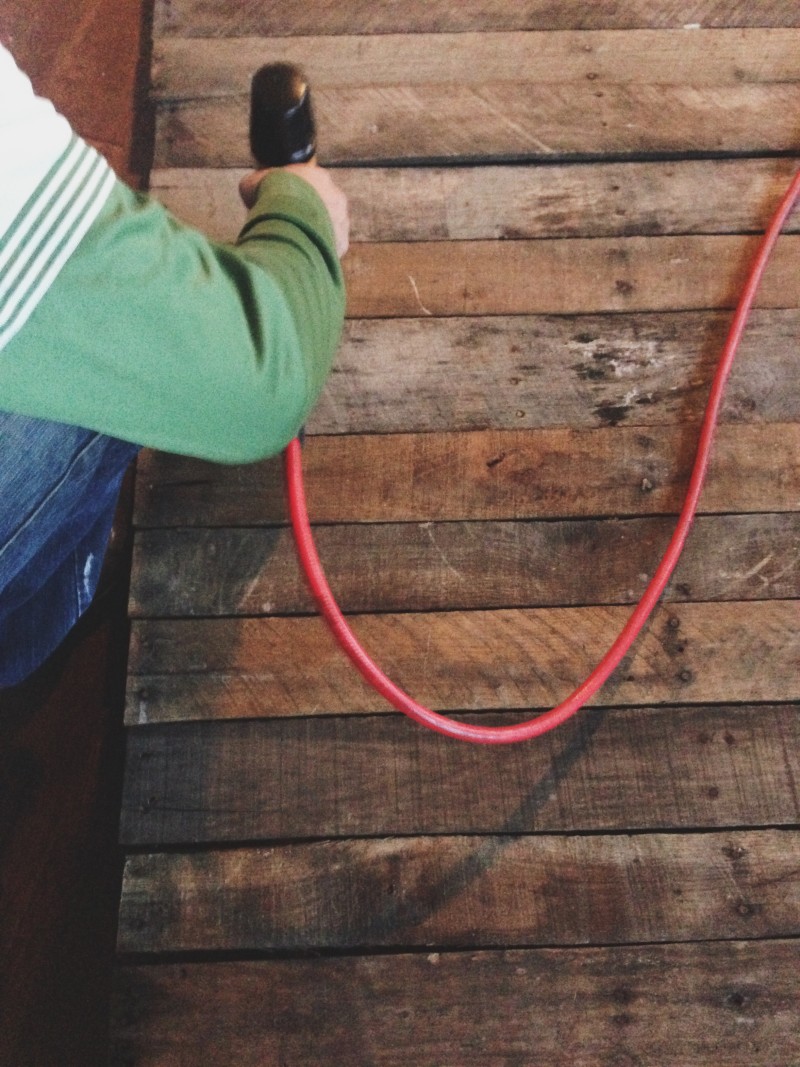
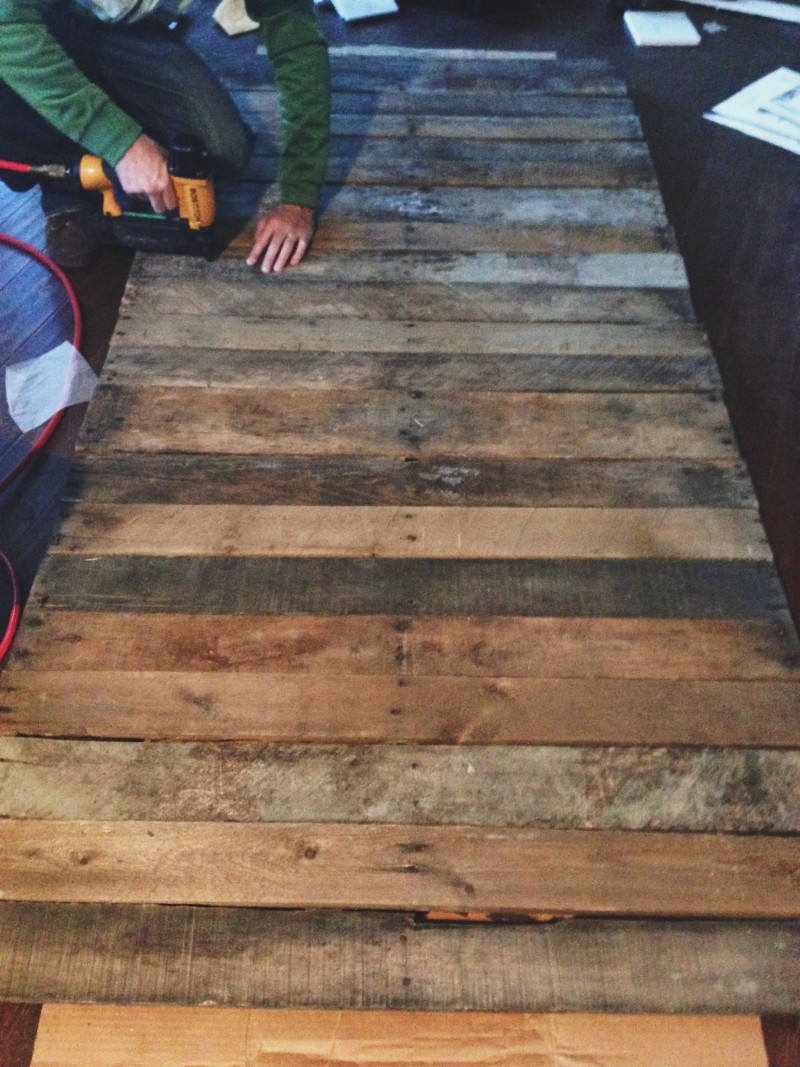
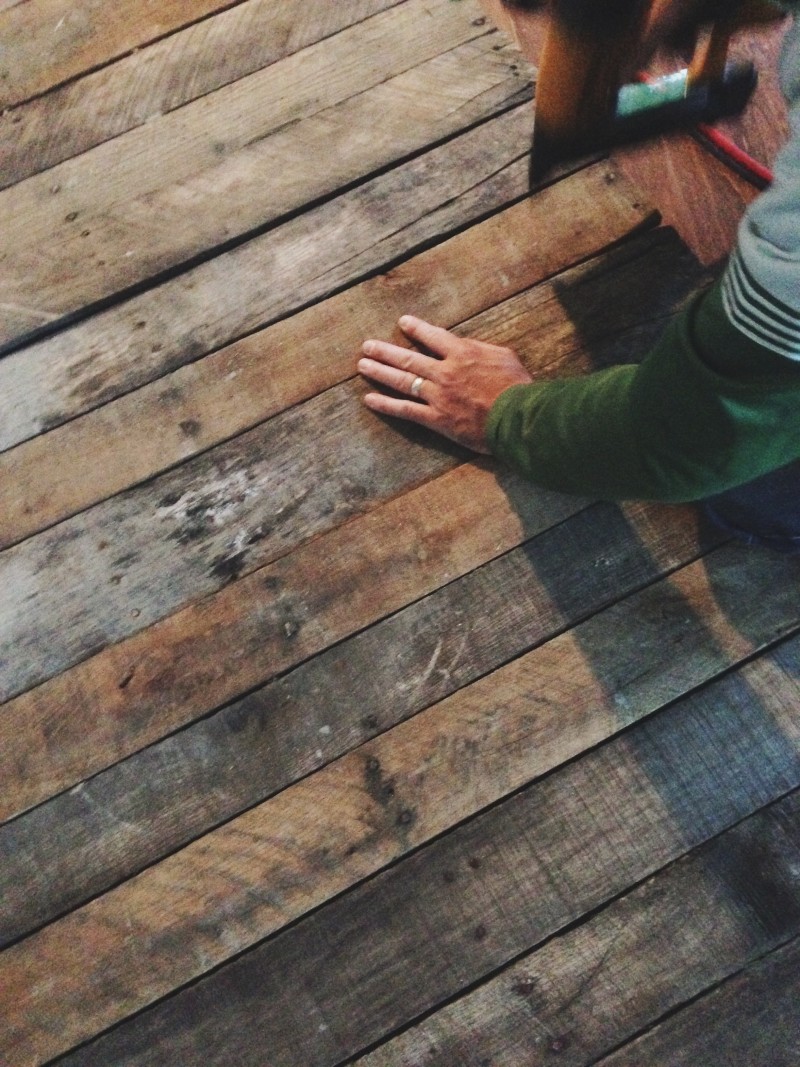
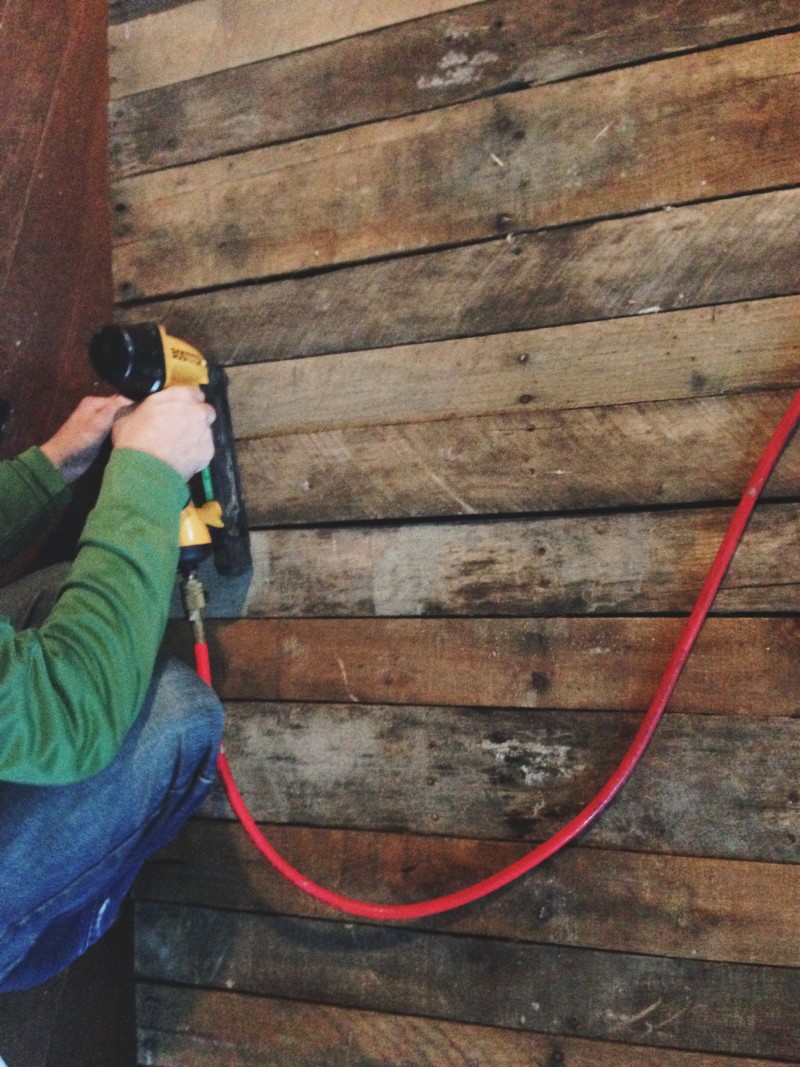
We then added our pallet wood to the top. The pallets were made from a few different types of wood (one of which was cedar so it smelled pretty great) and they had all weathered to varying degrees. We were able to have a variety of colors and textures on the door and that gave it a really rustic modern look. Some of the wood was too warped, broken or short to use, so we eliminated those. Then we arranged the wood so that the coolest pieces were at eye level and each style of wood was separated from others like it (hope that makes sense). It gave it a varied look. Once we were done arranging the pallet wood we fastened them to the frame with our nail gun. Easy peasy. We chose to leave the existing nails in. The nail gun nails weren’t visible and the existing nails were bigger and looked old and rusted. It added to the aesthetic we were going for.
The next step was attaching the handle. We used the 43″ version of the Lansa handle from Ikea. It looked sharp (and expensive!) and worked beautifully. The last step was installing and mounting the slide rail. I honestly can’t remember where we bought it from, so if I can find it I’ll add the link. I do remember it wasn’t that expensive. The whole project turned out amazing. It was by far my favorite feature of the house and everyone who came over commented on it. It was often mentioned in the feedback when we went to sell the house. Everyone loved it.

This wood pallet door is awesome. You did a wonderful job. Thanks for sharing this post.
Thank you so much! I’m so happy with how it turned out! 🙂